This blog post is a seventh part of the series. The source code of the complete project is available in this GitHub repository
So, we also have the Vaadin frontend app.
For starters, we should repeat the same steps, as it was while integrating Spring Boot backend app and Keycloak server:
– add Keycloak Spring Boot starter dependency, the adapter BOM dependency and Spring Boot starter security:
<dependencyManagement>
  <dependencies>
	...
     <dependency>
        <groupId>org.keycloak.bom</groupId>
        <artifactId>keycloak-adapter-bom</artifactId>
        <version>8.0.1</version>
        <type>pom</type>
        <scope>import</scope>
     </dependency>
  </dependencies>
</dependencyManagement>

<dependency>
   <groupId>org.keycloak</groupId>
   <artifactId>keycloak-spring-boot-starter</artifactId>
</dependency>
<dependency>
   <groupId>org.springframework.boot</groupId>
   <artifactId>spring-boot-starter-security</artifactId>
</dependency>
– add Keycloak config properties (which we saved when configuring vaadin-ui client in Keycloak admin console) to application.properties file of the Vaadin app. So now our application.properties looks like this:
server.port=9998
# Ensure application is run in Vaadin 14/npm mode
vaadin.compatibilityMode = false
logging.level.org.atmosphere = warn

keycloak.realm=Demo
keycloak.auth-server-url=http://localhost:9991/auth/
keycloak.ssl-required=external
keycloak.resource=vaadin-ui
keycloak.public-client=true
keycloak.confidential-port=0
– add SecurityConfig class, which extends KeycloakWebSecurityConfigurerAdapter.
@KeycloakConfiguration
public class SecurityConfig extends KeycloakWebSecurityConfigurerAdapter {

   @Autowired
   public void configureGlobal(AuthenticationManagerBuilder auth) throws Exception {
       auth.authenticationProvider(keycloakAuthenticationProvider());
   }

   @Bean
   @Override
   protected SessionAuthenticationStrategy sessionAuthenticationStrategy() {
       return new RegisterSessionAuthenticationStrategy(new SessionRegistryImpl());
   }

   @Override
   protected void configure(HttpSecurity http) throws Exception {
       super.configure(http);
       http
           .authorizeRequests()
           .antMatchers("/months").hasAnyAuthority("user", "admin")
           .antMatchers("/admin").hasAuthority("admin")
           .anyRequest().permitAll();
   }
}
– add KeycloakConfig class
@Configuration
public class KeycloakConfig {

   @Bean
   public KeycloakSpringBootConfigResolver keycloakConfigResolver() {
       return new KeycloakSpringBootConfigResolver();
   }
}
If we try to navigate to the frontend’s view, for example, localhost:9998/months, we’ll be redirected to Keycloak’s default login page. But after providing credentials of any of our users, we’ll get an error:
There was an exception while trying to navigate to 'months' with the exception message 'Error creating bean with name 'io.ramonak.MonthsView': Bean instantiation via constructor failed; nested exception is org.springframework.beans.BeanInstantiationException: Failed to instantiate [io.ramonak.MonthsView]: Constructor threw exception; nested exception is org.springframework.web.client.RestClientException: Could not extract response: no suitable HttpMessageConverter found for response type [java.util.List] and content type [text/html;charset=utf-8]'This happens because we now have access to Vaadin app, but we are using RestTemplate to fetch protected by Keycloak backend data, and we haven’t provided the access token.
Keycloak provides an extension of Spring’s RestTemplate – KeycloakRestTemplate – that handles bearer token authentication. The main advantage of using this class over Spring’s RestTemplate is that authentication is handled automatically when both the service making the API call and the service being called are protected by Keycloak authentication (and that is exactly our case!).
To enable this feature we must add the KeycloakRestTemplate bean in our SecurityConfig class. Note that it must be scoped as a prototype to function correctly.
@Autowired
public KeycloakClientRequestFactory keycloakClientRequestFactory;

@Bean
@Scope(ConfigurableBeanFactory.SCOPE_PROTOTYPE)
public KeycloakRestTemplate keycloakRestTemplate() {
   return new KeycloakRestTemplate(keycloakClientRequestFactory);
}
Then we need to make changes to the ClientService class: replace standard RestTemplate on KeycloakRestTemplate.
@Service
public class ClientService {

   private final KeycloakRestTemplate keycloakRestTemplate;

   public ClientService(KeycloakRestTemplate keycloakRestTemplate) {
       this.keycloakRestTemplate = keycloakRestTemplate;
   }

   public List getMonths() {
       return keycloakRestTemplate.exchange("http://localhost:9999/months",
               HttpMethod.GET,
               null,
               new ParameterizedTypeReference>() {})
               .getBody();
   }

   public String getAdminPage() {
       return keycloakRestTemplate.exchange("http://localhost:9999/admin",
               HttpMethod.GET,
               null,
               String.class)
               .getBody();
   }
}
Now we can test what we’ve implemented so far. Run the app:
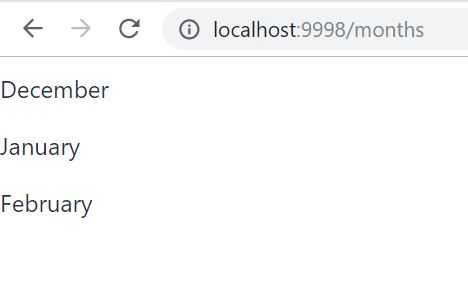
mvn spring-boot:runAnd also don’t forget to run the backend app (in case it’s stopped). Navigate to localhost:9998/months, again you’ll be redirected to Keycloak’s login page, enter credentials of the user (it’s kate in my case) and here it is:

To log in as an admin, first, we have to logout as a user. Now let’s implement it in the Vaadin app UI.
For that, we’ll add Anchor Vaadin component (<a> HTML tag) in MainView class, which will handle logout request:
Anchor logout = new Anchor(
       "http://localhost:9991/auth/realms/Demo/protocol/openid-connect/logout?redirect_uri=" +
               "http://localhost:9998/",
       "Logout");
The first Anchor constructor’s parameter is the URI of logout request. According to Keycloak’s docs, the logout URI should be
http://auth-server/auth/realms/{realm-name}/protocol/openid-connect/logout?redirect_uri=encodedRedirectUri The second parameter is the link’s name.
Also, it would be great to show the user’s name in the UI and logout link should be visible only when there is a logged in user.
To do this we need to get user’s name from KeycloakSecurityContext:
KeycloakPrincipal principal =
    (KeycloakPrincipal) SecurityContextHolder.getContext()
        .getAuthentication().getPrincipal();
KeycloakSecurityContext keycloakSecurityContext =
    principal.getKeycloakSecurityContext();
String preferredUsername =
    keycloakSecurityContext.getIdToken().getPreferredUsername();
And add some logic on what to show when there is logged in user and when there isn’t. So the complete MainView class is:
@Route
@PWA(name = "Demo Spring Boot - Vaadin - Keycloak", shortName = "Demo project")
public class MainView extends VerticalLayout implements RouterLayout{

   public MainView() {
       if (!SecurityContextHolder.getContext()
            .getAuthentication().getPrincipal().equals("anonymousUser")) {
           KeycloakPrincipal principal =
                (KeycloakPrincipal) SecurityContextHolder.getContext()
                    .getAuthentication().getPrincipal();

           KeycloakSecurityContext keycloakSecurityContext =
                principal.getKeycloakSecurityContext();

           String preferredUsername = keycloakSecurityContext.getIdToken().getPreferredUsername();
           Anchor logout = new Anchor(
                   "http://localhost:9991/auth/realms/Demo/protocol/openid-connect/logout?redirect_uri=" +
                           "http://localhost:9998/",
                   "Logout");
           add(new HorizontalLayout(new Span(preferredUsername), logout));
       } else {
           add(new Span("No Logged in User"));
       }
   }
}
To have logout link and user’s name on all our views, the MainView class must implement RouterLayout interface and we need to update @Route annotation on views classes:
MonthsView

@Route(value = “months”, layout = MainView.class)

AdminView

@Route(value = “admin”, layout = MainView.class)
Testing: run the app
mvn spring-boot:runNavigate to
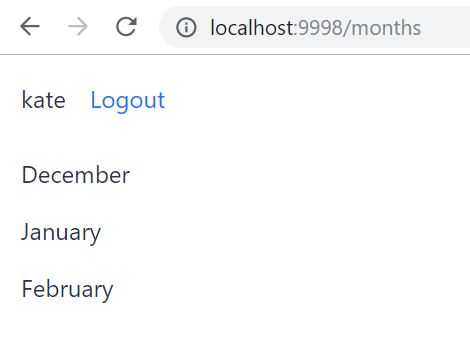
localhost:9998/monthsYou’ll be redirected to Keycloak’s login page. Enter admin’s credentials and we have a month’s list with our new features: currently logged in user’s name (admin) and logout link:
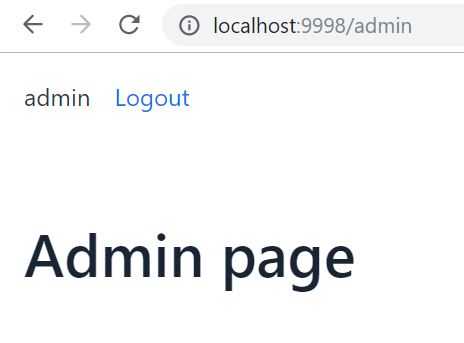
Test access to admin page (localhost:9998/admin):
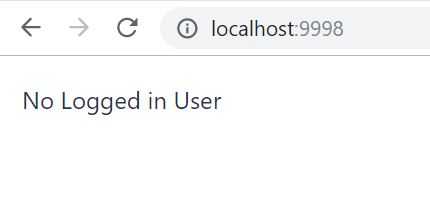
And the logout link is only left to test. Press Logout:
We are logged out from all the clients (apps) that are united in the Keycloak’s Realm!
Conclusion
That’s it! We’ve implemented the basic integration of Spring Boot app, Vaadin App and Keycloak server. We’ve done the minimum required configuration tweeks, so the whole system was fully functioning.
The complete source code of the project is available in this GitHub repository.
If you’d like to learn how to use Spring Security with JWT, checkout this tutorial.


