Keycloak: adding roles and users
The fourth part of tutorial series Spring Boot – Vaadin – Keycloak – Spring Security Integration.
This blog post is a fourth part of the series. The source code of the complete project is available in this GitHub repository
Now we can define Roles, which will be used in our apps for authorization.
In the left menu bar click Roles and then Add Role.
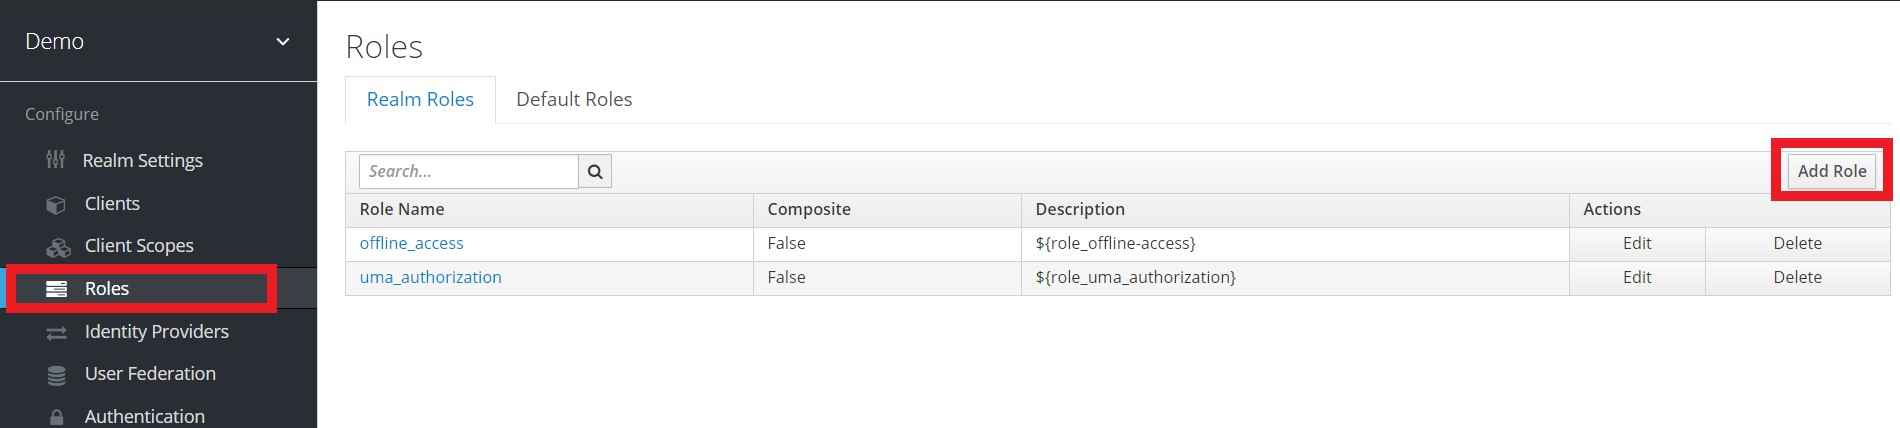
Create two roles: user and admin.
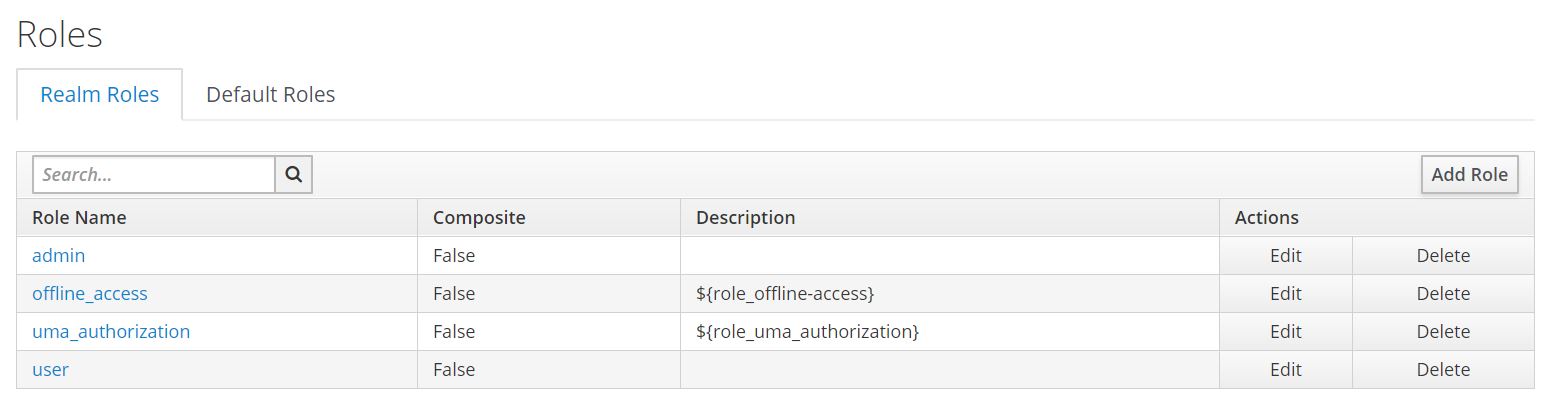
Here is the list of the roles of our Demo Realm.
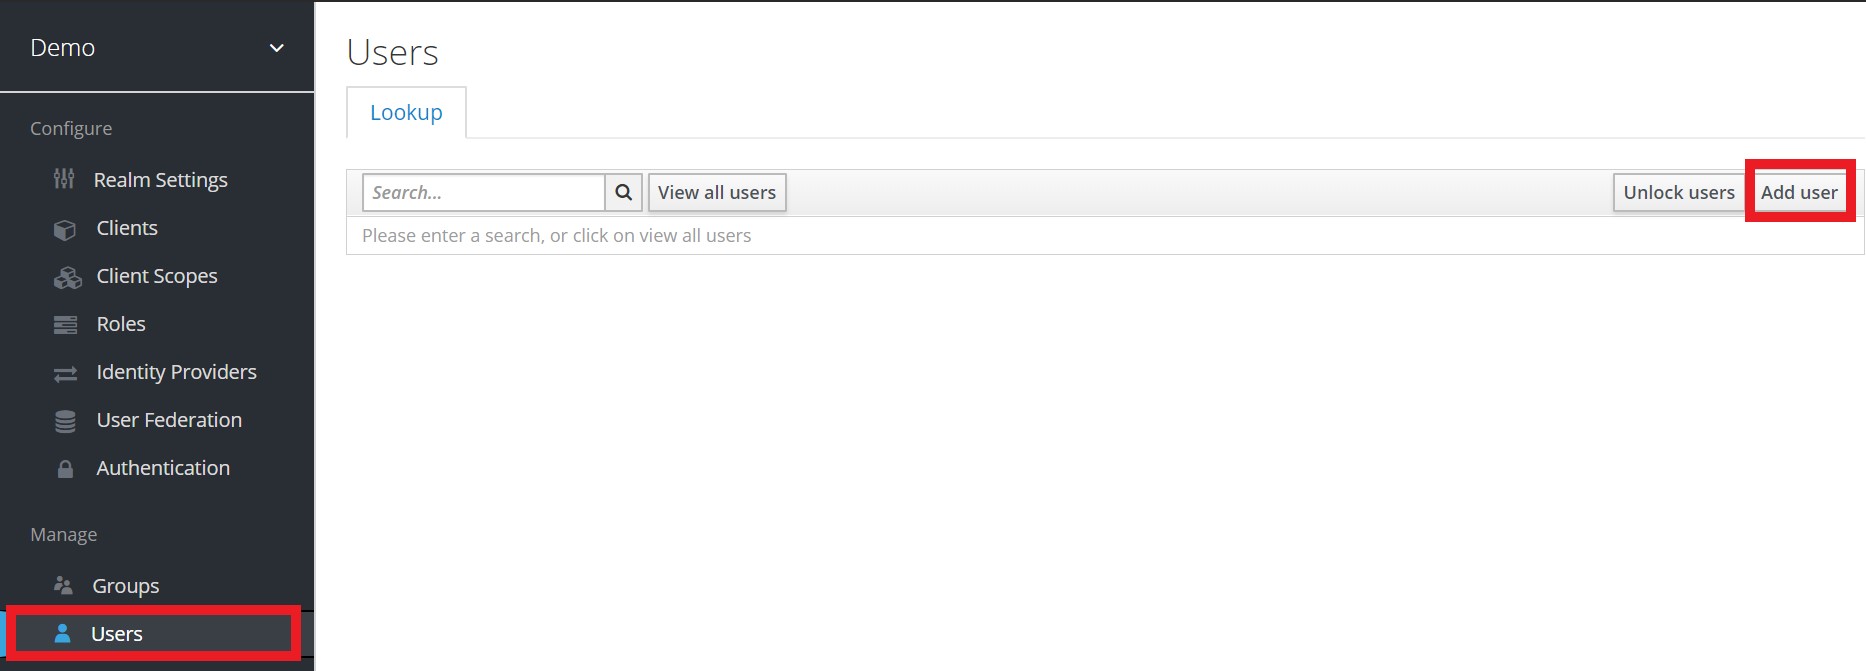
Now we can add users. We’ll add two users: one – “standard” user and one – admin user.
In the left menu bar click Users and then Add user.
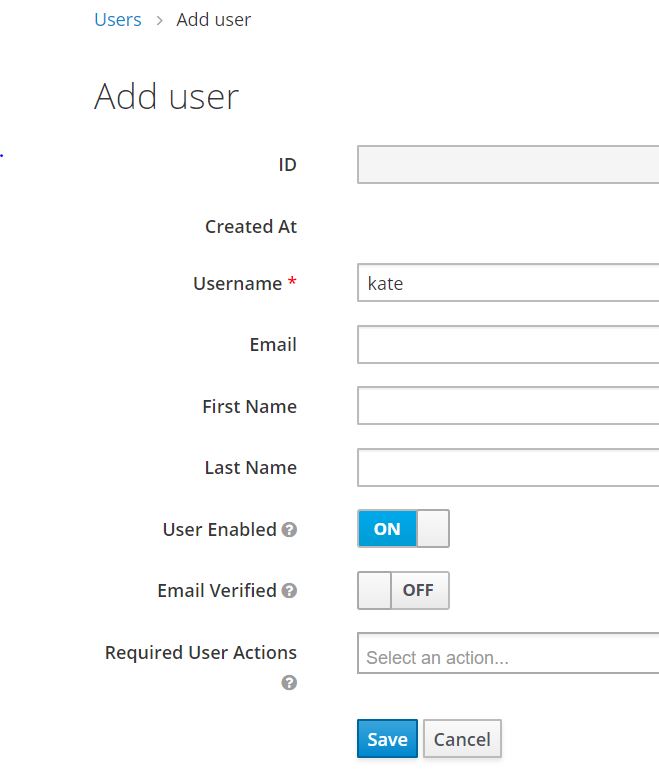
For the sake of this tutorial, we’ll add just the minimum of required information, which is just Username:
Then navigate to the Credentials tab and set the password for the user.
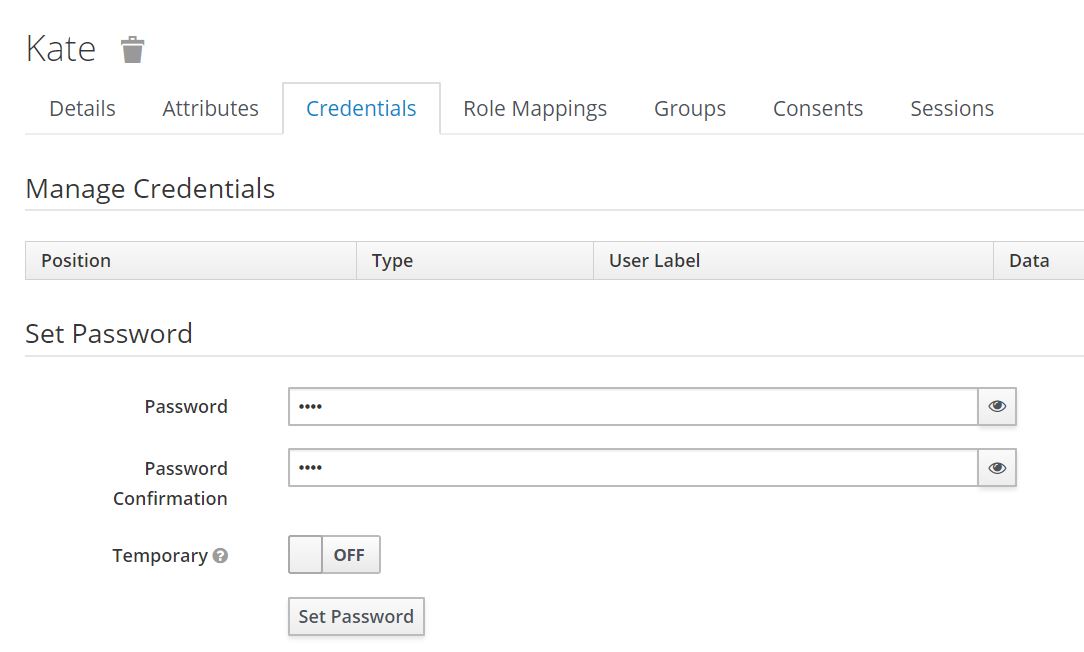
By default “Temporary” button is ON. That means that the user must change the password on the first login. But we don’t need this feature. So I disabled the Temporary switch.
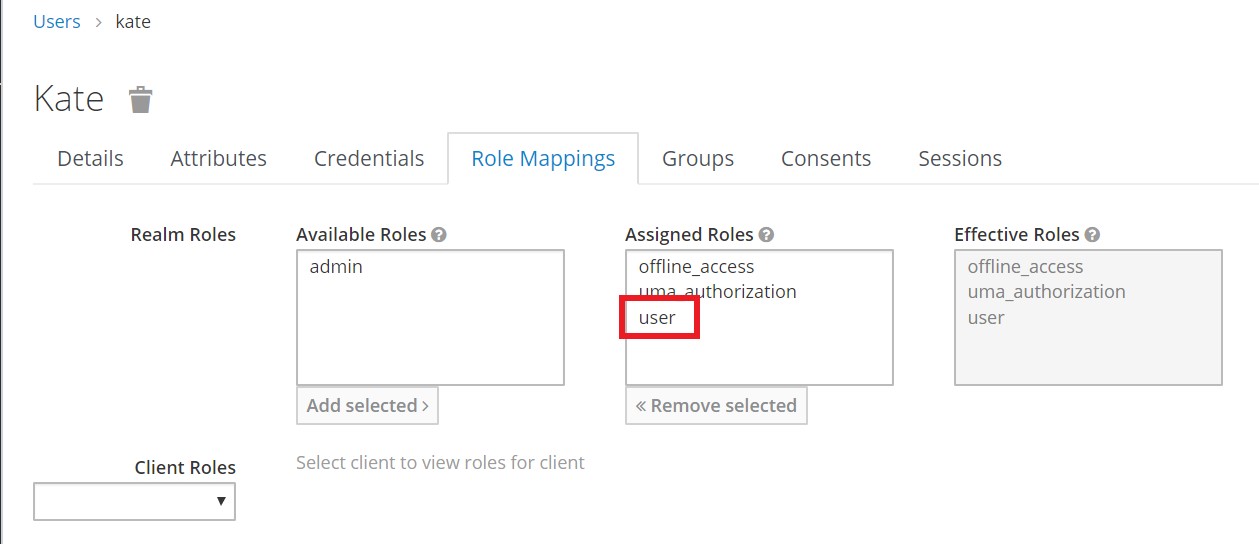
Now go to Role Mapping tab, where we can assign our user to the role – the user role. For that chose “user” from Available Roles section and press Add selected.
We are done with the first user and now repeat the same actions for creating Admin user.
Add user with username “admin”, set password and role “admin”.
And we’ve finished creating roles and users.
In the next part, we’ll add applications that should be managed by Keycloak.