This blog post is a fifth part of the series. The source code of the complete project is available in this GitHub repository
Now we need to define which applications (or Clients in Keycloak terms) are mapped with created Realm and users/roles.
In the Keycloak’s Administration console Click on Clients link on the left menu and then Create.
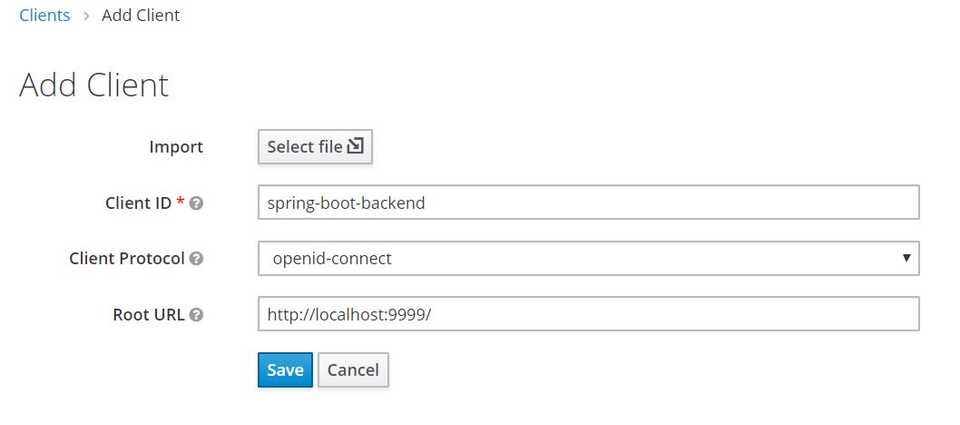
Add our Spring Boot backend app:
Enter Client ID (spring-boot-backend, for example) and Root URL of the app (http://localhost:9999/ in our case). Press Save button.
We’ll leave all the default settings.
To speed up the following configuration process of our apps, click on Installation tab and chose “Keycloak OIDC JSON”. Thus we have ready properties which we’ll add to the application.properties file of our backend app in a minute. You can download them as a .json file or just copy and save in text file.
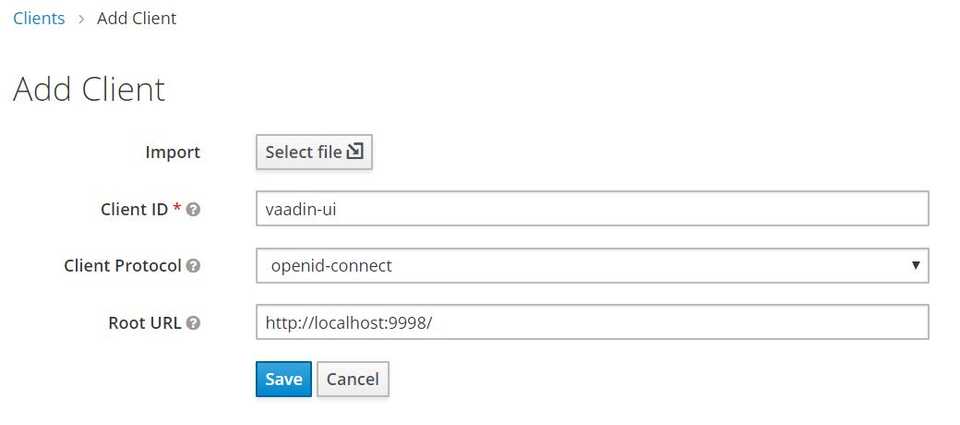
Finally, add the second Client – Vaadin frontend app. Repeat the same steps as with adding the backend app: Clients -> Create. Then enter data about the app and click Save.
Then save generate and save properties from the Installation tab (optionally).
And that’s it with KeyCloak configuration!!!
Now we have to “befriend” two of our apps with Keycloak.


