This blog post is a sixth part of the series. The source code of the complete project is available in this GitHub repository
To be able to secure Spring Boot apps we must add the Keycloak Spring Boot adapter JAR to the app. For that we need to add Keycloak Spring Boot starter dependency and the adapter BOM dependency:
<dependency>
    <groupId>org.keycloak</groupId>
    <artifactId>keycloak-spring-boot-starter</artifactId>
</dependency>

...
<dependencyManagement>
  <dependencies>
    <dependency>
      <groupId>org.keycloak.bom</groupId>
      <artifactId>keycloak-adapter-bom</artifactId>
      <version>8.0.1</version>
      <type>pom</type>
      <scope>import</scope>
    </dependency>
  </dependencies>
</dependencyManagement>
Then insert downloaded (saved) properties from Keycloak admin panel (when we were creating Clients) into application.properties file and transform them from JSON object into properties. So in case of our backend app full application.properties are as follows:
server.port=9999

keycloak.realm=Demo
keycloak.auth-server-url=http://localhost:9991/auth/
keycloak.ssl-required=external
keycloak.resource=spring-boot-backend
keycloak.public-client=true
keycloak.confidential-port=0- keycloak.realm – name of the realm, REQUIRED
- keycloak.auth-server-url – the base URL of the Keycloak server , REQUIRED
- keycloak.ssl-required – defined if all communication to and from the Keycloak server must be over HTTPS. The default value is external meaning that HTTPS is required by default for external requests. In production this should be set to all. OPTIONAL.
- keycloak.resource – the client-id of the application, REQUIRED.
- keycloak.public-client – if set to true, the adapter will not send credentials for the client to Keycloak. This is OPTIONAL. The default value is false.
- keycloak.confidential-port – the confidential port used by the Keycloak server for secure connections over SSL/TLS. This is OPTIONAL. The default value is 8443.
It is possible to configure security constrains for the app’s endpoints based on user’s roles by adding them into application.properties file. They look like this:
keycloak.security-constraints[0].authRoles[0]=user
keycloak.security-constraints[0].securityCollections[0].patterns[0]=/months
This means that all requests to /months will only be authorized for user with the role “user”. But I think it’ll be better (and prettier) to integrate Spring Security with Keycloak.
According to official Keycloak documentation, there is a Keycloak Spring Security adapter. But this dependency is already included in the Keycloak Spring Boot starter dependency. So we have to add only Spring Boot Starter Security dependency
<dependency>
	<groupId>org.springframework.boot</groupId>
	<artifactId>spring-boot-starter-security</artifactId>
</dependency>
Keycloak provides a KeycloakWebSecurityConfigurerAdapter as a convenient base class for creating a WebSecurityConfigurer instance.
Let’s create a SecurityConfig class which extends KeycloakWebSecurityConfigurerAdapter.
First of all, we need to add @KeycloakConfiguration annotation to the class. This annotation wraps two annotations required by Spring Security configuration: @Configuration and @EnableWebSecurity. And also provides the third annotation required by Keycloak to scan correctly the beans configured in the Keycloak Spring Security Adapter:
@ComponentScan (basePackageClasses = KeycloakSecurityComponents.class). Then we need to register the KeycloakAuthenticationProvider with the authentication manager:
@Autowired
public void configureGlobal(AuthenticationManagerBuilder auth) throws Exception {
   auth.authenticationProvider(keycloakAuthenticationProvider());
}
Next define the session authentication strategy:
@Bean
    @Override
    protected SessionAuthenticationStrategy sessionAuthenticationStrategy() {
        return new RegisterSessionAuthenticationStrategy(new SessionRegistryImpl());
    }
And finally, we have to define role-based access policy:
@Override
protected void configure(HttpSecurity http) throws Exception {
   super.configure(http);
   http
       .authorizeRequests()
       .antMatchers("/months").hasAnyAuthority("user", "admin")
       .antMatchers("/admin").hasAuthority("admin")
       .anyRequest().permitAll();
}
We use hasAnyAuthority(String …authorities) and hasAuthority(String authority) Spring Security’s methods instead of hasAnyRole(String …roles) and hasRole(String role) to escape the problems with default Spring Security “ROLE_” prefix which is added automatically to all roles.
To get access to /months endpoint the user must be authorized with either User or Admin authority.
Endpoint /admin is only accessible for Admin.
Testing time! Let’s run our app:
mvn spring-boot:runAnd … we have an error😢
***************************
APPLICATION FAILED TO START
***************************

Description:

Parameter 1 of method setKeycloakSpringBootProperties in org.keycloak.adapters.springboot.KeycloakBaseSpringBootConfiguration required
a bean of type 'org.keycloak.adapters.springboot.KeycloakSpringBootConfigResolver' that could not be found.

Action:

Consider defining a bean of type 'org.keycloak.adapters.springboot.KeycloakSpringBootConfigResolver' in your configuration.
Currently, there is an issue with Spring Boot Keycloak adapter. But luckily, we have a workaround! Just create a new config class:
@Configuration
public class KeycloakConfig {

   @Bean
   public KeycloakSpringBootConfigResolver keycloakConfigResolver() {
       return new KeycloakSpringBootConfigResolver();
   }
}
Let’s run again the app🤞
mvn spring-boot:runWell, at least it’s started! Now navigate to localhost:9999/months.
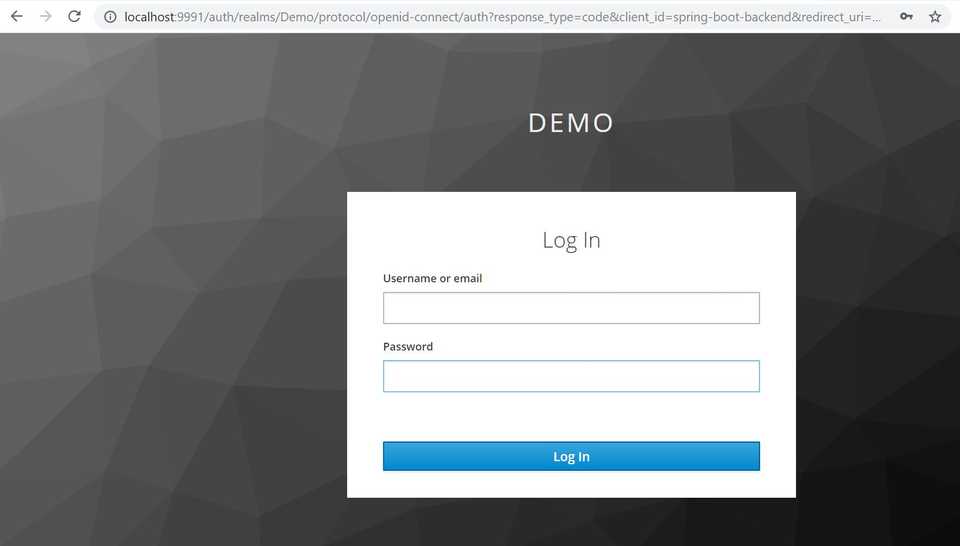
And we are being redirected to default Keycloak login page.
Great! Enter the credentials of the earlier created user with User role. In my case, it will be user Kate. Press Log In or Enter key, and…
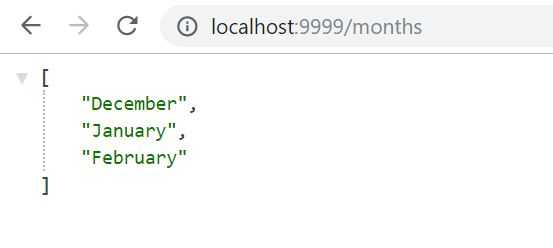
we have access to months page!
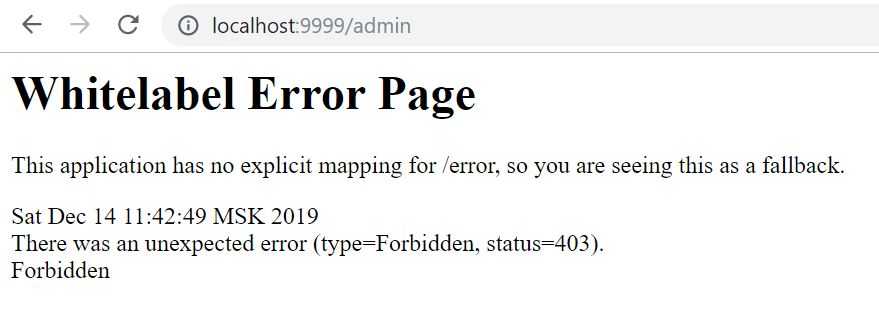
Now let’s try to navigate to /admin page.
And we get an error page… Which means that it’s working as it’s supposed to be! User must have Admin authority to get access to admin page.
To be able to login as Admin, first of all we need to logout as a “simple” user role. As we have just a backend service we won’t be adding fancy logout button (we’ll do it in our frontend app). We’ll logout using Keycloak admin console.
Go to localhost:<keycloak_port>/auth/admin, which in my case is
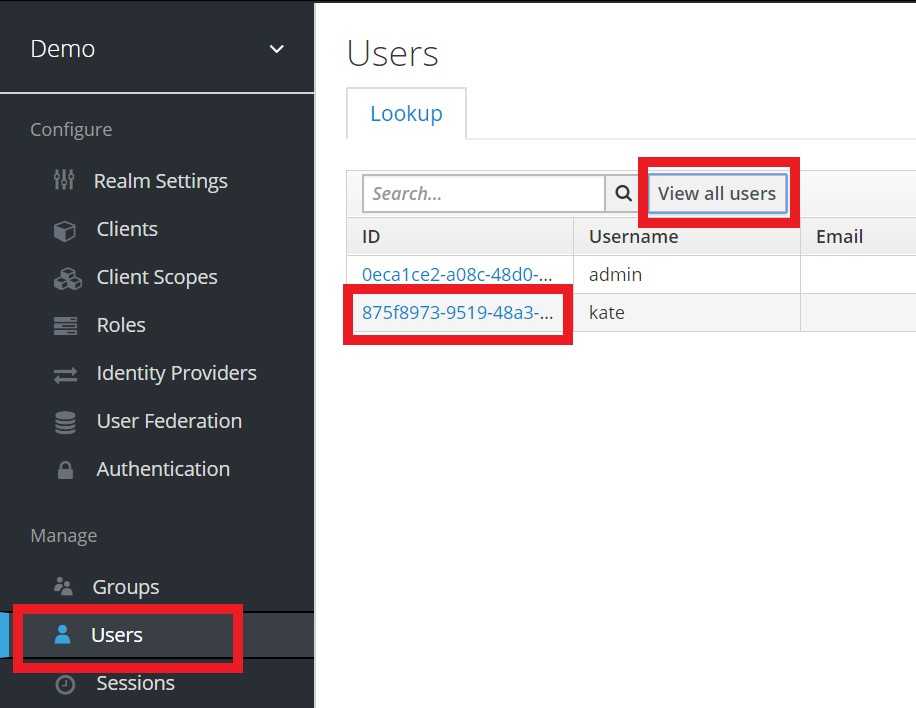
localhost:9991/auth/adminThen press Users link on the left -> View all users button -> press on ID of currently logged in user (kate in my case)
In opened view navigate to Sessions tab and press Logout action
Now we’ll try to access the admin page.
localhost:9999/adminAnd once again we are prompted to Keycloak’s default login page.
But this time let’s log in under the admin’s credentials.
And yep, we have access to the admin page!
Test the access to /months page (localhost:9999/months).
Works too, as our admin user is authorized for both of our endpoints.
Well, the only thing we’ve left to implement is to integrate the Vaadin frontend app with Keycloak system. Let’s do it in the next part.


