Keycloak server installation and Realm creation
The third part of tutorial series Spring Boot – Vaadin – Keycloak – Spring Security Integration.
This blog post is a third part of the series. The source code of the complete project is available in this GitHub repository
Keycloak is an open-source Identity and Access Management solution. It runs as a separate service.
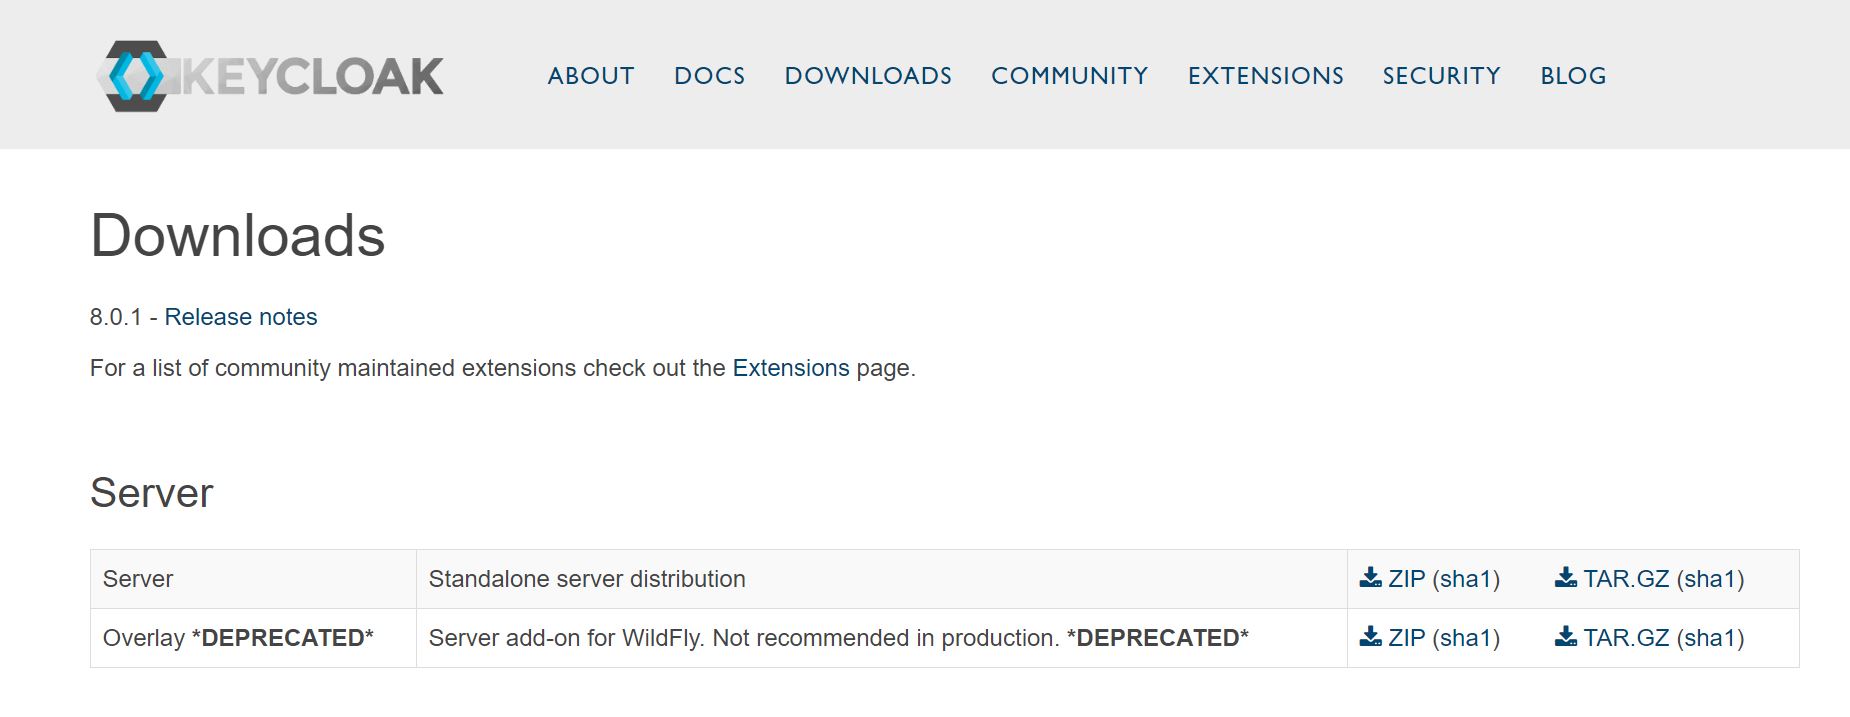
To start using Keycloak we need to download it’s latest server version from here.
Unzip downloaded folder.
If you (like me) don’t like to use default port 8080, go to \standalone\configuration\standalone.xml and change the port in property
<socket-binding name="http" port="${jboss.http.port:8080}"/>
(it’s almost at the end of the file) to whatever port you like, but remember that it should differ from ports on which backend and frontend apps are running. I’ll use port 9991. Save it and close standalone.xml.
To boot the Keycloak server, go to the bin directory of the downloaded distribution and run the standalone boot script. In command line enter:
on Linux/Unix
$ cd bin
$ ./standalone.sh

on Windows
> ...\bin\standalone.bat
To manage Keycloak server configurations, we should create the Admin Account. Go to
localhost:<keycloak_port>/auth
that in my case is localhost:9991/auth, and we are at the main Keycloak page.
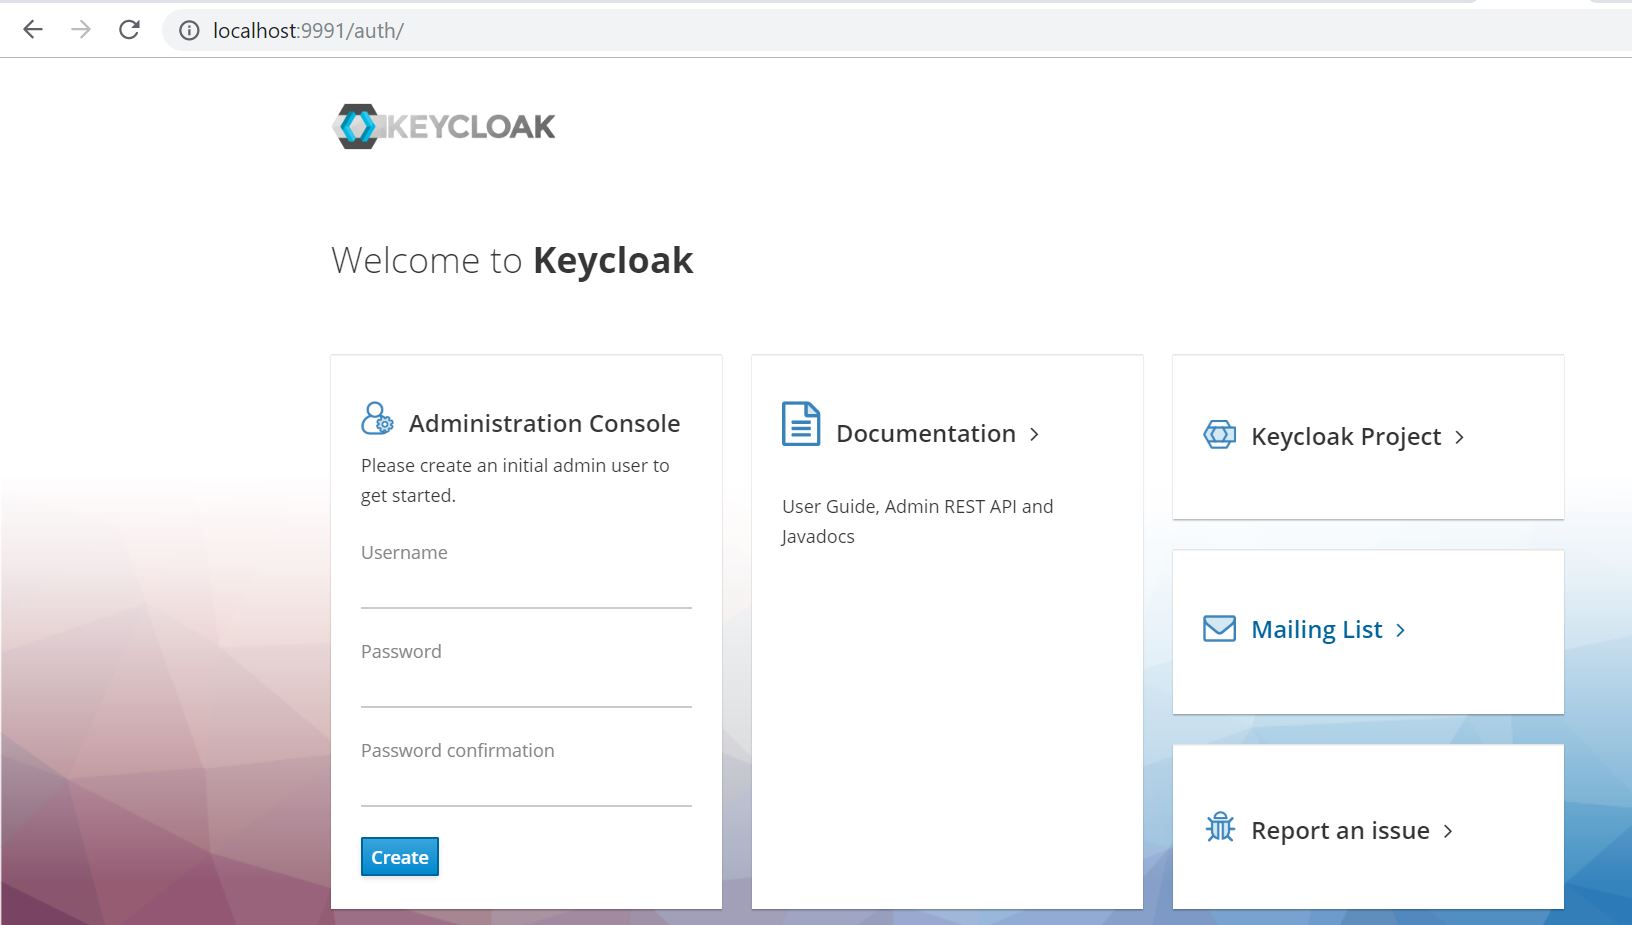
Enter a username, password and password confirmation at the Administration Console to create an initial admin user. Press Create button.
Press Administration Console link or enter in browser’s nav bar
localhost:<keycloak_port>/auth/admin
enter credentials of just created admin user and finally, we are at the “operational center” of Keycloak server.
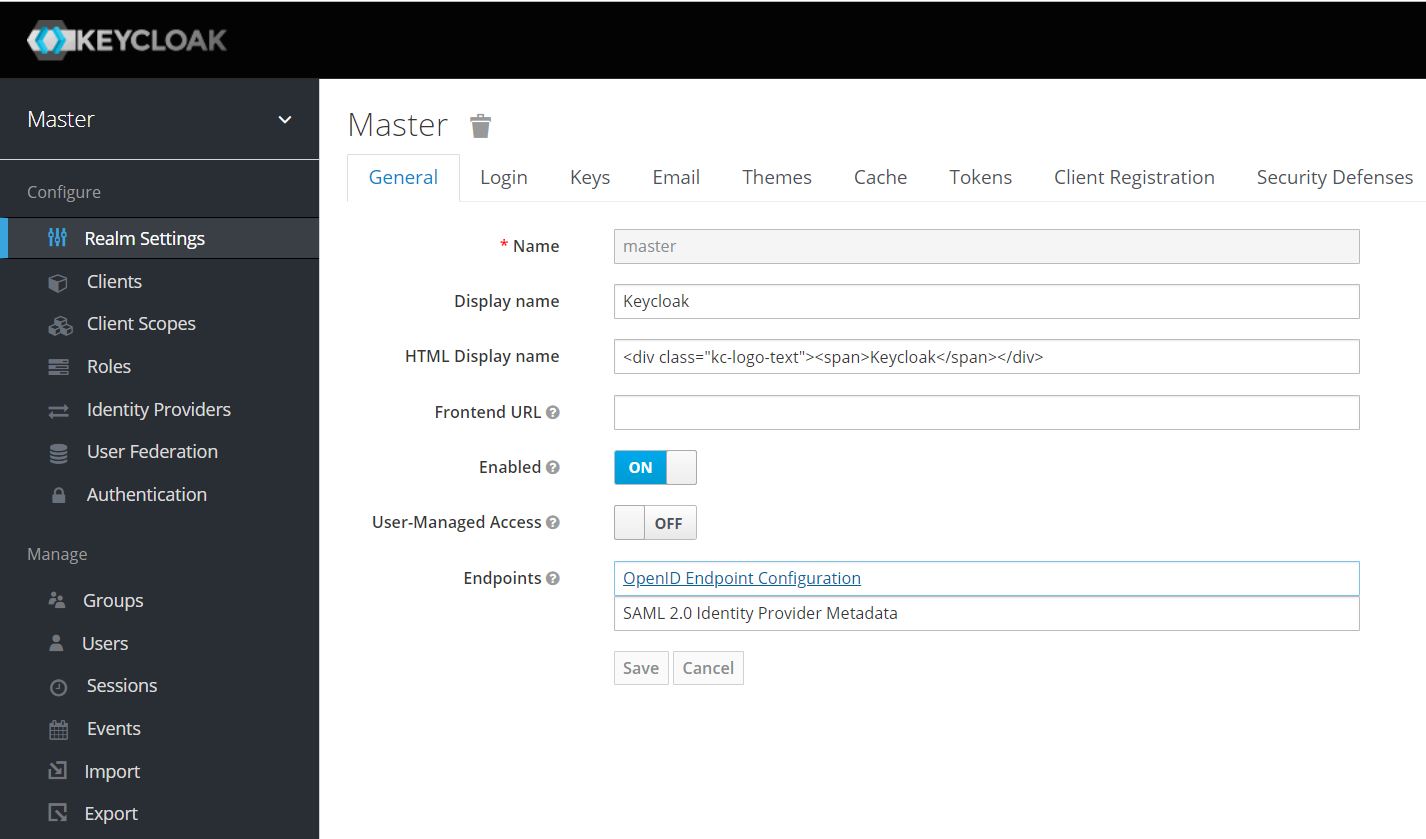
Now we need to create Realm – it’s a Keycloak terminology for a group of apps that should be able to communicate with each other.
Hover over Master drop-down menu and click Add Realm.
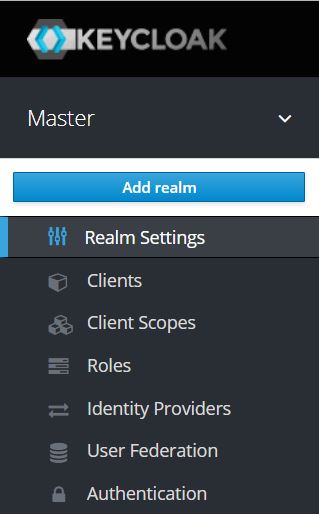
Enter Realm name (for example, Demo) and click on Create.

So we successfully booted Keycloak and created Realm for our apps!
In the next part, we’ll continue to configure Keycloak server.