Setting up Vaadin Spring Boot Frontend App
The second part of tutorial series Spring Boot – Vaadin – Keycloak – Spring Security Integration.
This blog post is a second part of the series. The source code of the complete project is available in this GitHub repository
Vaadin is an open-source web framework which helps Java developers to create UI for web applications.
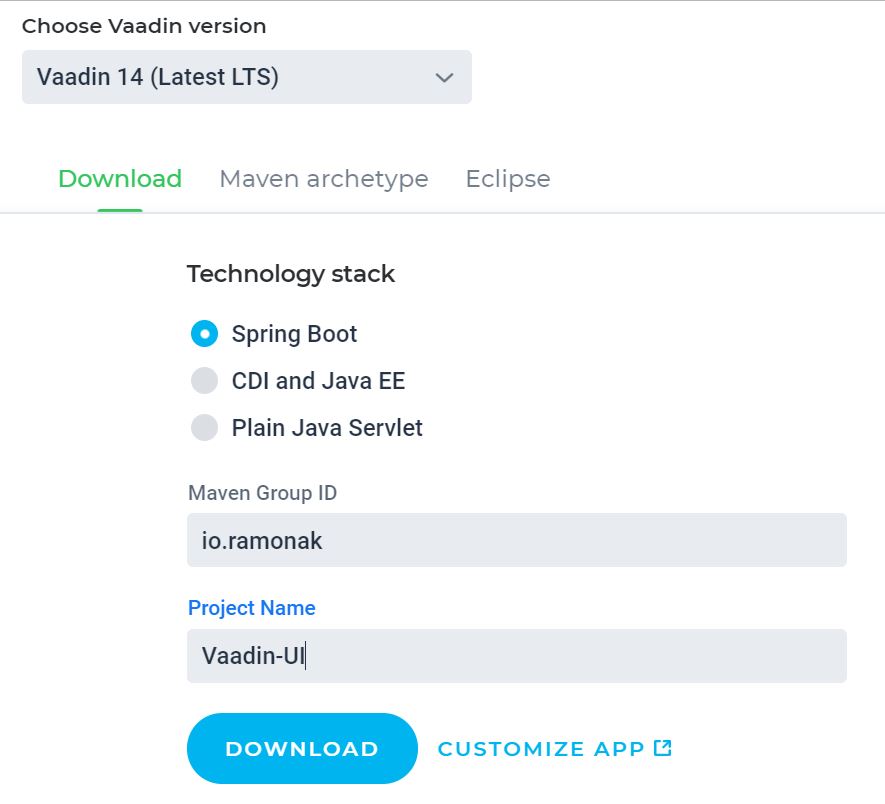
The most simple and convenient way to start building Vaadin application is to use Vaadin Starter Project. For that, we go to https://vaadin.com/start, chose the latest Vaadin version (which is 14 as of December 2019), Spring Boot tech stack, enter Maven Group ID and the Project Name. Press the download button.
Once again, after the project downloaded, unzip the folder and open the project in your favorite IDE.
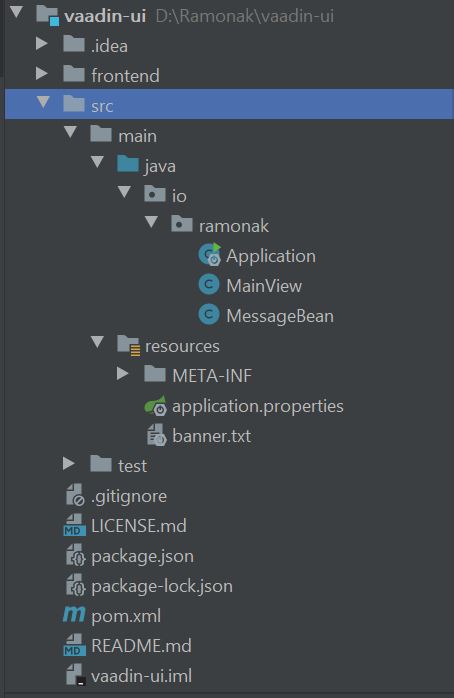
Vaadin base project has the following structure:
Due to the architecture of the whole (backend + frontend) app, the Vaadin app (frontend) should consume REST API of the backend. For that, we need to add a REST client layer, which will send GET request to the backend. We’ll use Spring’s convenient template class RestTemplate.
@Service
public class ClientService {

    private RestTemplate restTemplate = new RestTemplate();

    public List getMonths() {
        return restTemplate.exchange("http://localhost:9999/months",
                HttpMethod.GET,
                null,
                new ParameterizedTypeReference>() {})
                .getBody();
    }

    public String getAdminPage() {
        return restTemplate.exchange("http://localhost:9999/admin",
                HttpMethod.GET,
                null,
                String.class)
                .getBody();
    }
}
Annotation @Service on ClientService class is the Spring’s classpath scanning annotation.Methods getMonths() and getAdminPage() do GET HTTP requests to our backend app to fetch corresponding data.Now it’s time to add views (or pages) to our UI.
- Add MonthsView class. Each month’s data we’ll show in separate Paragraph (
<p>HTML tag). All paragraphs we’ll include in Div element.
@Route("months")
public class MonthsView extends Div {

   public MonthsView(@Autowired ClientService clientService) {
       List<String> months = clientService.getMonths();
       months.forEach(s -> add(new Paragraph(s)));
   }
}
@Route annotation defines MonthsView component as a route target for /months URL. We get the data from backend with the help of ClientService class and it’s getMonths() method. Then transform resulting array into paragraphs and add them into Div.
- Add AdminView class.
@Route("admin")
public class AdminView extends Div {

    public AdminView(@Autowired ClientService clientService) {
        String adminPage = clientService.getAdminPage();
        add(new H1(adminPage));
    }
}
URL for this view is /admin. Again we use ClientService and it’s getAdminPage() method to fetch data from backend. The received text we’ll show in H1 component.
- Define the port on which the app will run. In the application.properties file change default 8080 port to 9998 (or whatever you chose, but different from port on which our backend app is running).
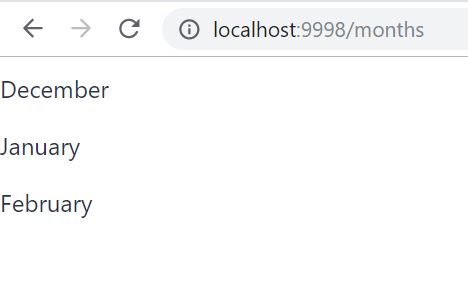
Now let’s look at what we’ve developed so far. Run the Vaadin app as a standard Spring Boot App. Navigate in browser to localhost:9998/months and see months’ data:
 By the way, when using Vaadin starter app, it is PWA by default. The bar at the bottom of the page indicates that. You can read about the basics of PWA in this blog post.
Check the second view at localhost:9998/months:
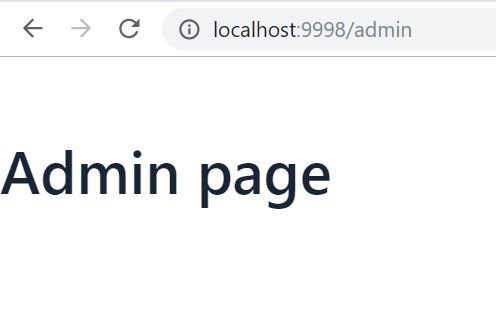
Yep! It’s working!!! Both apps perfectly communicate with each other.
But it was an easy part. Now let’s add authentication and authorization service to our apps.