Recently on one of my Java projects, I was faced with the challenge to implement the following architecture:
– Spring Boot backend with REST endpoints
– Vaadin frontend client, which consumes that REST endpoints
– KeyCloak server for authorization and authentication management
In this blog post series, I’ll go through the process of developing a basic application with the above-mentioned structure. The series consist of the next parts:
- Developing Spring Boot backend app with REST endpoints
- Setting up Vaadin Spring Boot frontend app with two UI views
- Keycloak server installation and Realm creation
- Keycloak: adding roles and users
- Keycloak: clients configuration
- Spring Boot backend app – Keycloak – Spring Security integration
- Vaadin frontend app – Keycloak – Spring Security integration
The source code of the complete project is available in this GitHub repository.
Part 1. Spring Boot backend app
For the backend part, we use Spring Boot app.
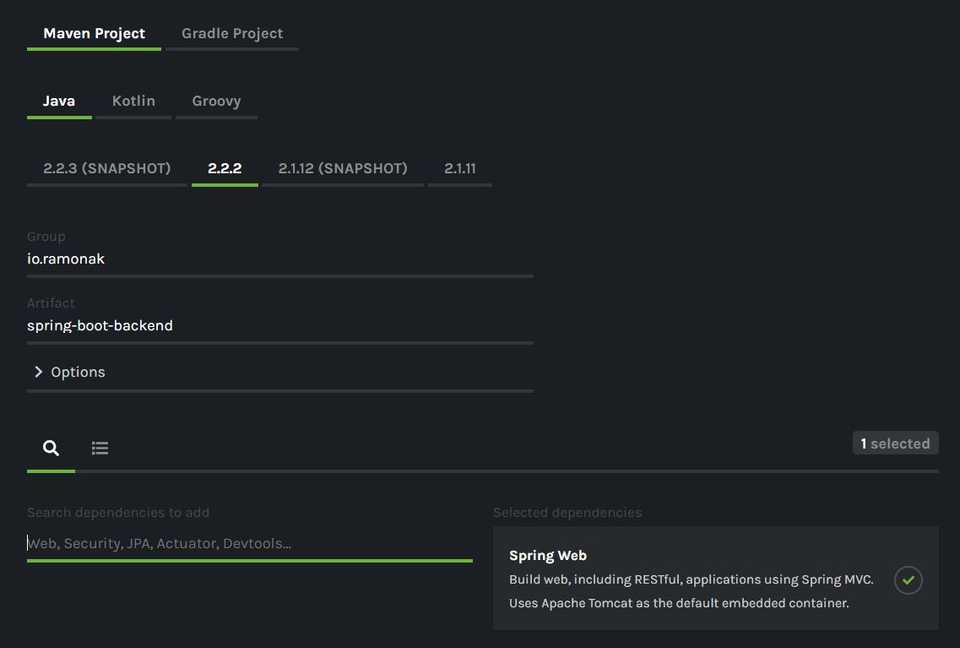
Go to Spring Initializr (BTW, they’ve updated design recently!) and chose the following configuration:
I’m gonna keep it simple for the sake of this tutorial. So we need just one dependency – Web – for making REST endpoints.
Press “Generate” button to download zip file with the project, unzip the folder and open the project in your favorite IDE.
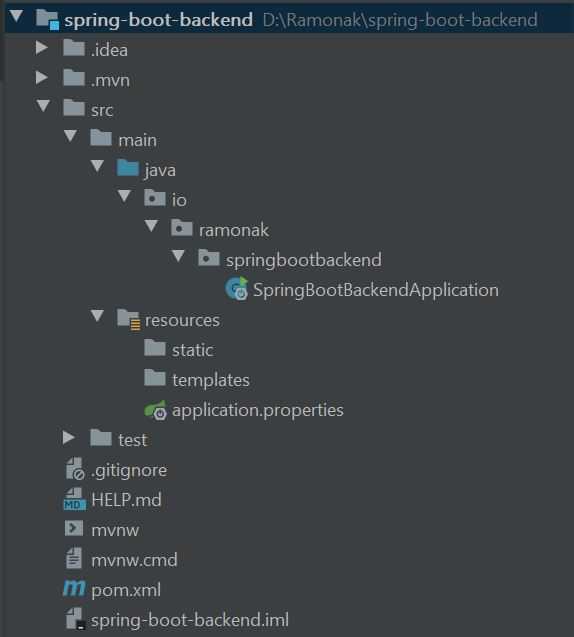
The project has the following structure:
Now let’s create Controller class and add two REST endpoints: the first one will return the names of winter months, the second will be admin page.
@RestController
public class Controller {

    @GetMapping("/months")
    public List<String> welcomePage() {
        return Arrays.asList("December", "January", "February");
    }

    @GetMapping("/admin")
    public String adminPage() {
        return "Admin page";
    }
}
Controller class is annotated with @RestController annotation, which simplifies the implementation by combining @Controller and @ResponseBody annotations.Both methods are for GET HTTP request, hence the annotation @GetMapping with corresponding URI’s.To run the application on a specific port (for instance, 9999, but you can chose whatever port you like) we need to add a property
server.port = 9999in application.properties file. Now run the application in your IDE or using Spring Boot Maven plugin by entering command:
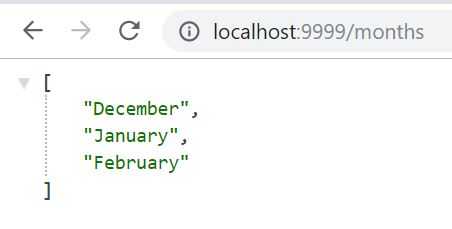
mvn spring-boot:runNavigate in your browser to localhost:9999/months. We see JSON object with winter months:
Test the second endpoint: localhost:9999/admin
The backend application is ready, but it’s not protected. Yet!


